Beginner Guide to Building Your First Custom Mechanical Keyboard
This practical guide walks you step-by-step through building a custom mechanical keyboard, from choosing switches and layouts to testing and optional firmware flashing. It lowers the barrier to entry by highlighting hot-swap PCBs, essential tools, and community resources that make first builds safer, quieter, and more customizable.

Building a custom mechanical keyboard no longer needs to feel like a mystery. This guide breaks the process down into clear stages, explains core components, and shows which choices matter most for first-time builders. The goal is to get you typing on a durable, personalized keyboard while avoiding common pitfalls.
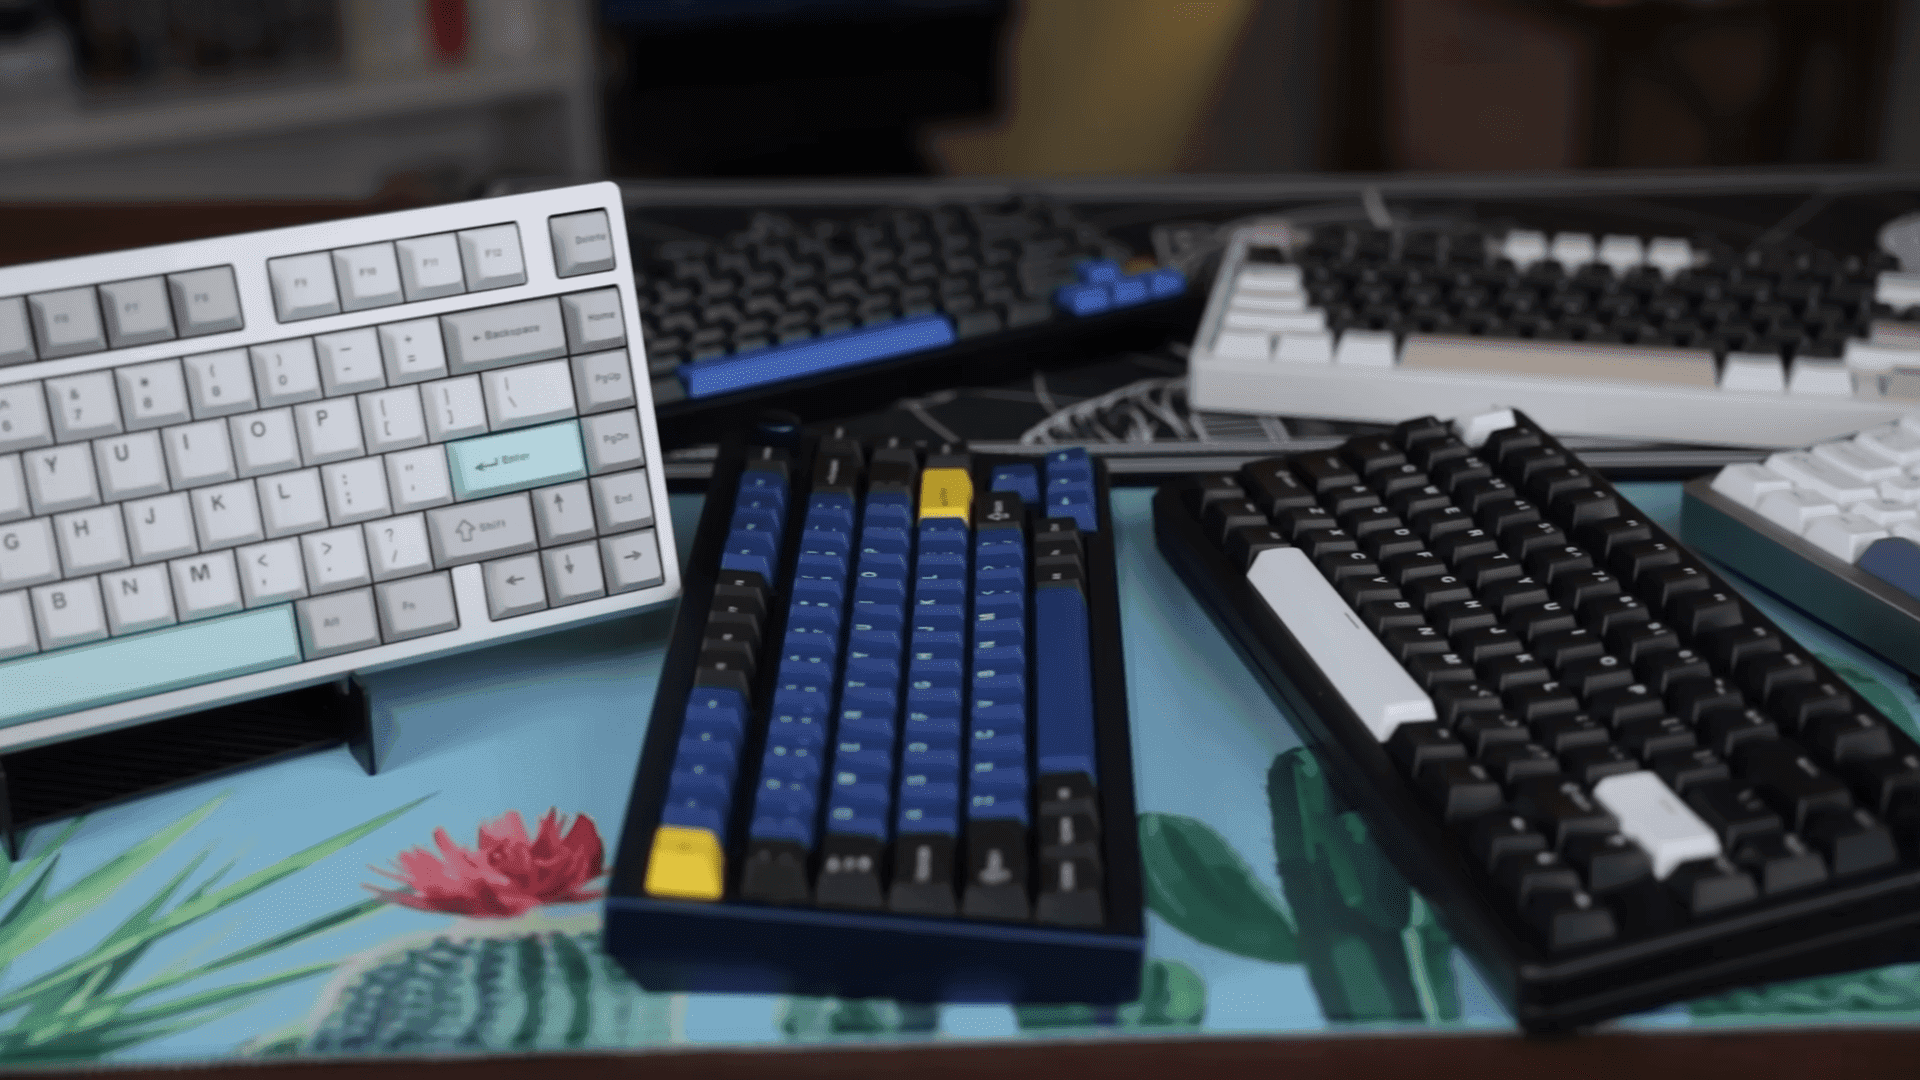
Start by understanding the main components: switches, keycaps, printed circuit board (PCB), plate, stabilizers, case, and controller. Layout options shape form and function, so pick a layout that fits your workflow and desk: 60 percent, 65 percent, 75 percent, tenkeyless, or full-size. Switches determine tactile feel and sound, while keycaps affect profile and aesthetics. The PCB and plate set mounting and compatibility, and stabilizers play a big role in spacebar, enter, and shift key acoustics.
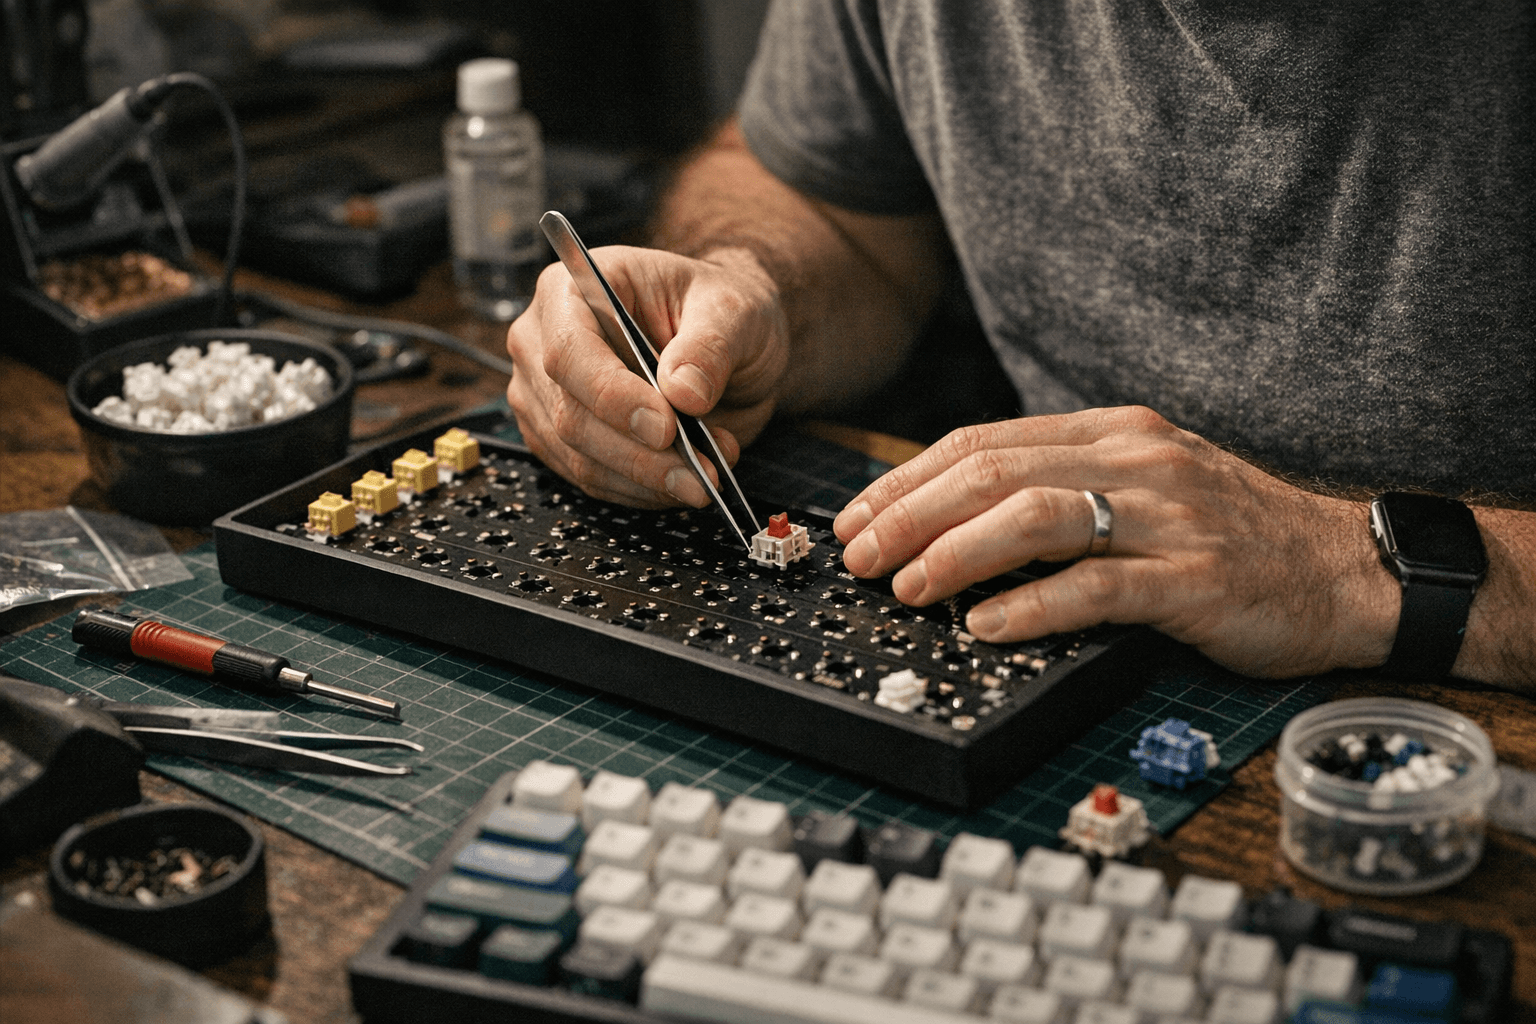
Gather your tools before you begin. Essential items include a soldering iron if your PCB is solder-required, keycap and switch pullers, a small screwdriver, and lubricant for mods. Choose a hot-swap PCB for your first build to avoid soldering and make experimenting with switches easier. Research switch feel and sound beforehand so you order parts you will enjoy.
Assembly starts with stabilizers. Install and lube stabilizers to reduce rattle and improve acoustics. Mount switches next; with hot-swap PCBs you can press switches into place, while soldered PCBs require careful soldering. If soldering, use appropriate technique and safety practices. After switches are in, assemble the case and perform a full test of every key. Use VIA or QMK software for live testing and mapping, or one of the many online keyboard testers to confirm electrical connections before final assembly.
Flashing firmware is optional but powerful. QMK and VIA allow you to customize keymaps, layers, and macros to match your workflow. If you do flash firmware, follow documented steps for your controller and keep a recovery plan in mind.
Practical tips speed success and reduce frustration. Take photos before disassembly so reassembly is straightforward. Lubricate stabilizers and consider switch lubing for improved sound and feel. Use community resources to troubleshoot and learn: dedicated Discord servers, the r/MechanicalKeyboards subreddit, and vendor wikis offer parts compatibility charts, build logs, and step-by-step help.
This approach makes the first custom build accessible and enjoyable. With preparation, the right tools, and the community at hand, you can move from parts to a finished, tuned keyboard that reflects your preferences.
Sources:
Know something we missed? Have a correction or additional information?
Submit a Tip