Beginner Guide Shows How to Start Model Railroading Confidently Today
A comprehensive beginner guide lays out the core steps to begin model railroading, covering scale selection era planning track geometry control systems and basic scenery. The guide matters because it turns an intimidating hobby into clear, practical tasks and points readers to deeper resources for track plans how to videos and reference books.
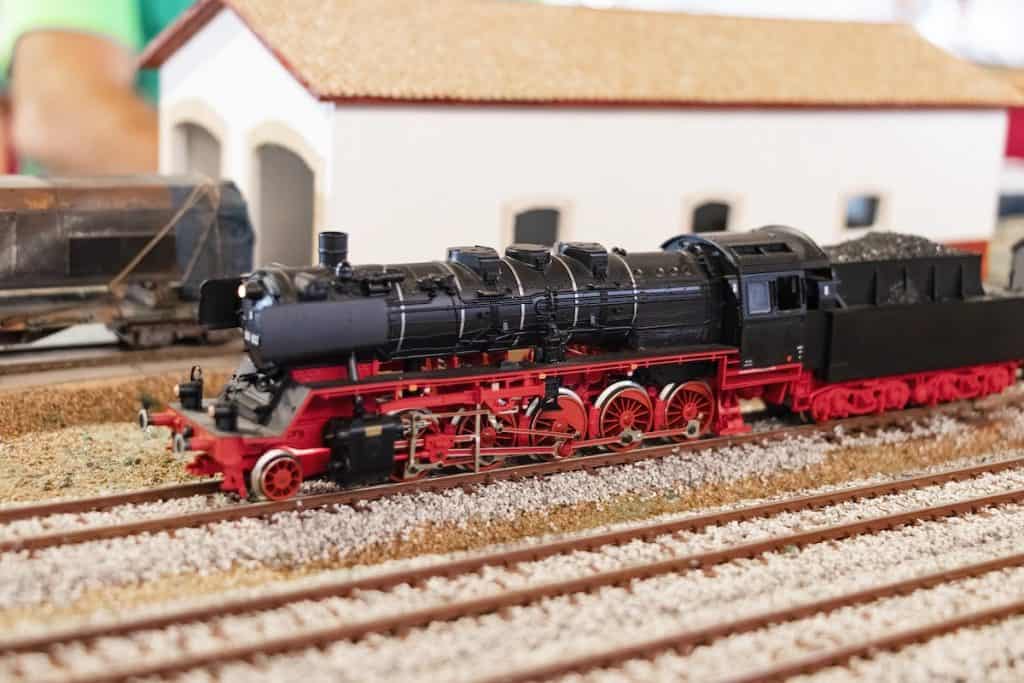
A clear step by step primer for new model railroaders presents the essentials needed to get a layout running, and explains why each decision matters to long term enjoyment and success. Start by choosing a scale, with HO and N cited as common options, and decide on a modeling era to narrow equipment and scenery choices. Choose a scale based on available space budget and the level of detail desired. Decide an era early because it informs locomotives freight and passenger car types road signs and structures.
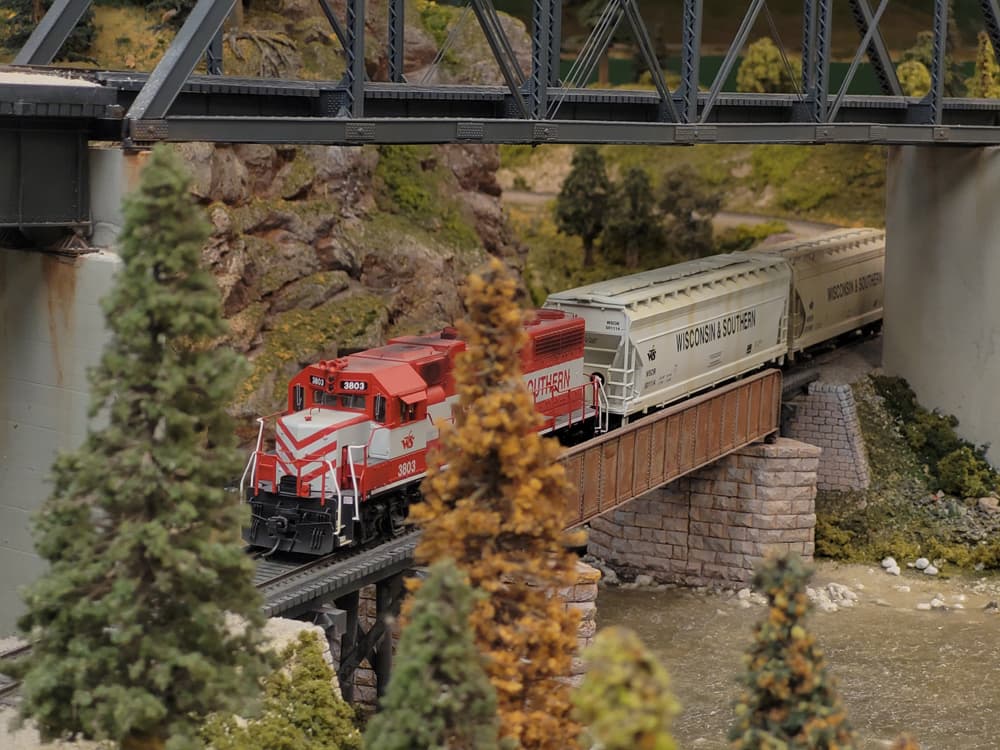
Sketch a track plan on paper before cutting plywood. Plan track geometry using simple sketches, include clearances and staging areas, and leave room for scenery and access. Build a sturdy baseboard or train table sized to the space, using common materials and simple joinery so the table is strong and serviceable. Select basic tools and supplies such as rail cutters pliers track gauges adhesives and foam or plywood for roadbed and scenery.
Understand control system choices, compare direct current controls with Digital Command Control and choose the system that fits your budget and operating goals. Wire the layout with feeders to maintain reliable power, plan blocks if using DC and consider DCC for independent locomotive control. Lay track on a stable roadbed, join rails carefully and test electrical continuity before committing to scenery.
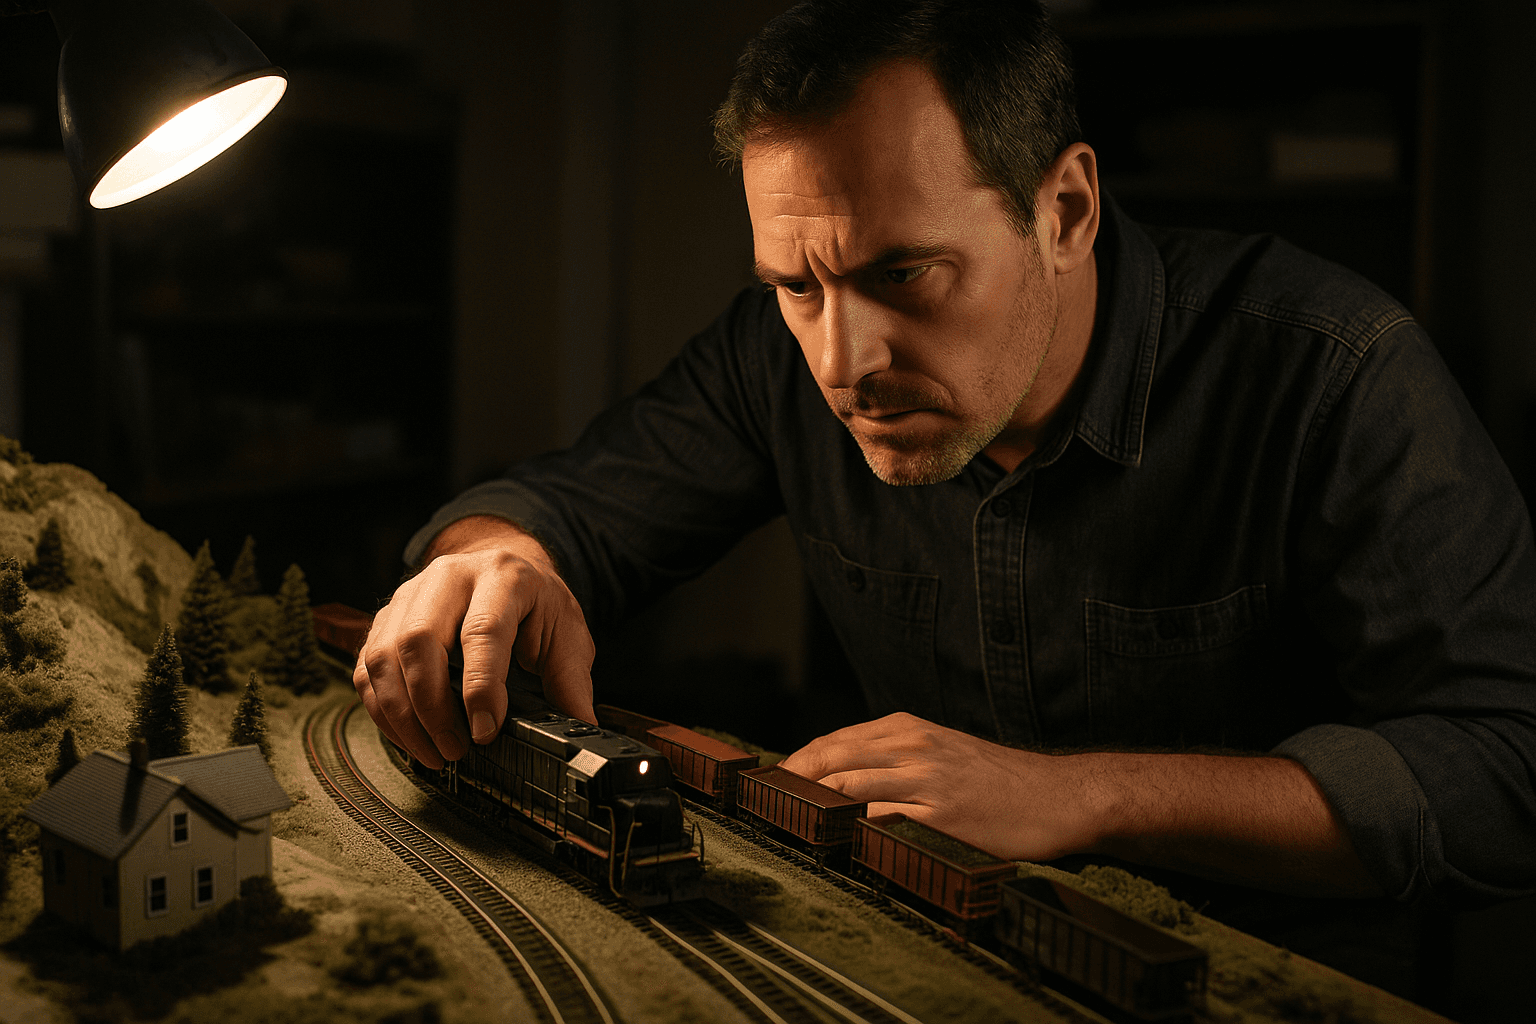
Begin scenery with broad strokes, using foam or plaster to shape terrain, then add ballast and ground cover. Start small with a single scene and expand as skills and confidence grow. Use track plan articles, how to videos and Model Railroader and Kalmbach books for deeper study of specific techniques and plans. Join a local club or online forum to get feedback and hands on help while building.
Keep perspective on completion and enjoy progress, because a layout is "finished" when the builder decides it is. Follow these steps to reduce frustration, manage costs and build a layout that fits your time and space, while tapping community resources for ongoing improvement.
Sources:
Know something we missed? Have a correction or additional information?
Submit a Tip