Make a Labubu-Style Plush Key Charm: Step-by-Step Guide
Learn how to create a small Labubu-inspired plush key charm from start to finish, with clear materials, timing, and practical sewing tips. This guide walks you through pattern cutting, facial details, ear construction, assembly, finishing touches, safety, and options for trading or selling your charms.
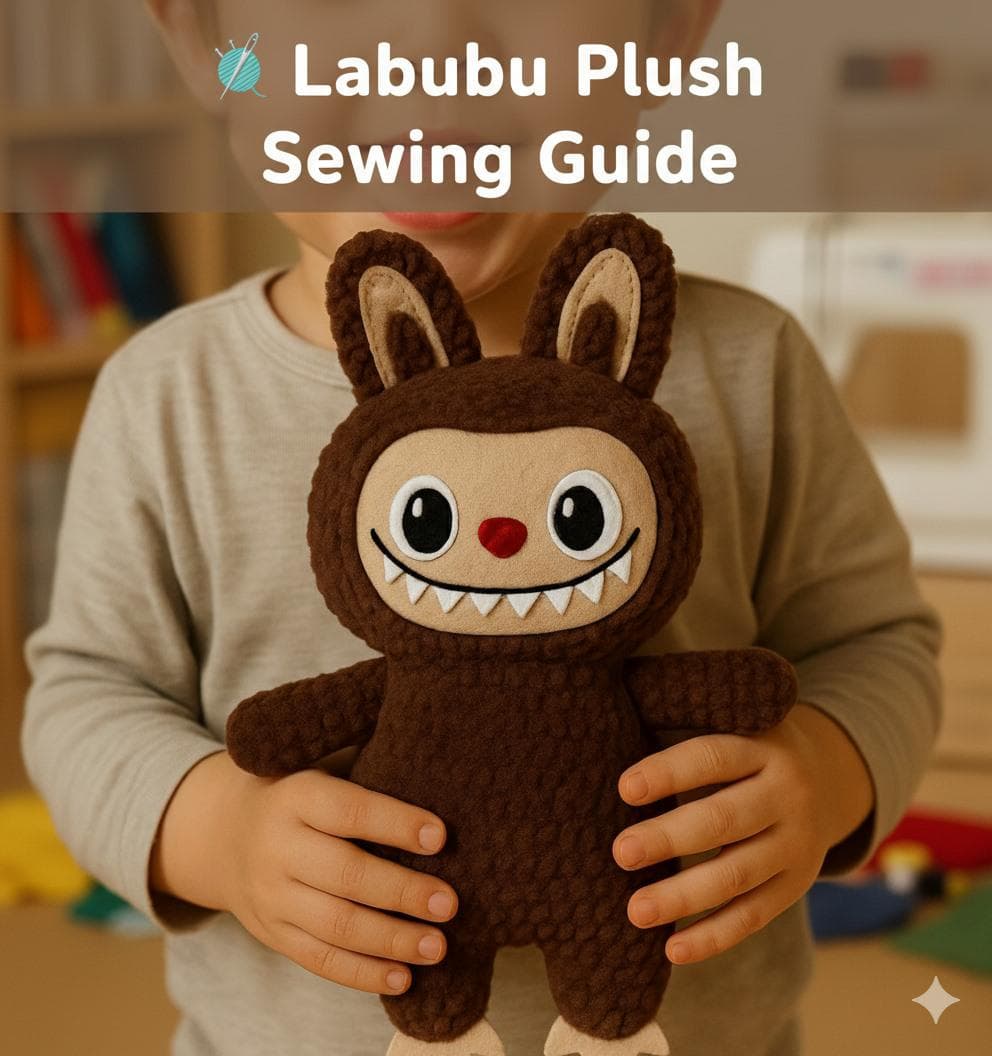
1. Why make a Labubu-style plush key charm Making a tiny Labubu-style charm is a quick, satisfying project that’s perfect for gifting, trading, or adding personality to your bag.
It’s small enough to finish in a single session but large enough to practice sewing, embroidery, and finishing skills. Community relevance is strong: charms are popular at craft meetups, conventions, and local markets, and a consistent design makes trading or identifying pieces easier.
2. Time estimate Plan for about 90–120 minutes if you’re a beginner; experienced makers can often complete one faster once the pattern and routine are established.
Break the session into two parts if you want neater stitching—cutting and facial details first, then construction and finishing. Allow extra time for personalization, such as embroidered initials or a tiny hidden stamp.
- Small bundle of faux fur or plush fabric (10 × 10 cm) — this gives you enough to cut body and ears with minimal waste.
- Contrasting felt for ears and teeth — felt is easy to cut and glue or stitch in place.
- Polyester stuffing — choose a light, resilient fill so the charm keeps shape without becoming bulky.
- Sewing needle and thread or sewing machine — a needle and matching thread is fine for a charm this size; a machine speeds seams if you prefer.
- Small key-ring clasp — choose a lobster clasp or split ring that fits your bag hardware.
- Embroidery floss for smile and eye details — floss gives a clean, durable line for tiny features.
- Fabric glue, small scissors, and optional safety eye or felted eye — fabric glue helps tame stray fibers; use a felted or embroidered eye for child-safe designs.
- Optional: a tiny loop of ribbon or strong thread for attaching the clasp, and a UV-invisible stamp or embroidery for seller identification.
3. Materials (what to gather)
4. Pattern: cut body and ears Draw a simple rounded body about 6–8 cm tall and two long ear shapes on paper to use as a template, then cut two body pieces and four ear pieces from your plush and felt respectively.
Keep templates small and smooth—rounded corners turn better when you sew and stuff. Be mindful of pile direction on plush fabric so the fur lays naturally on the finished charm.
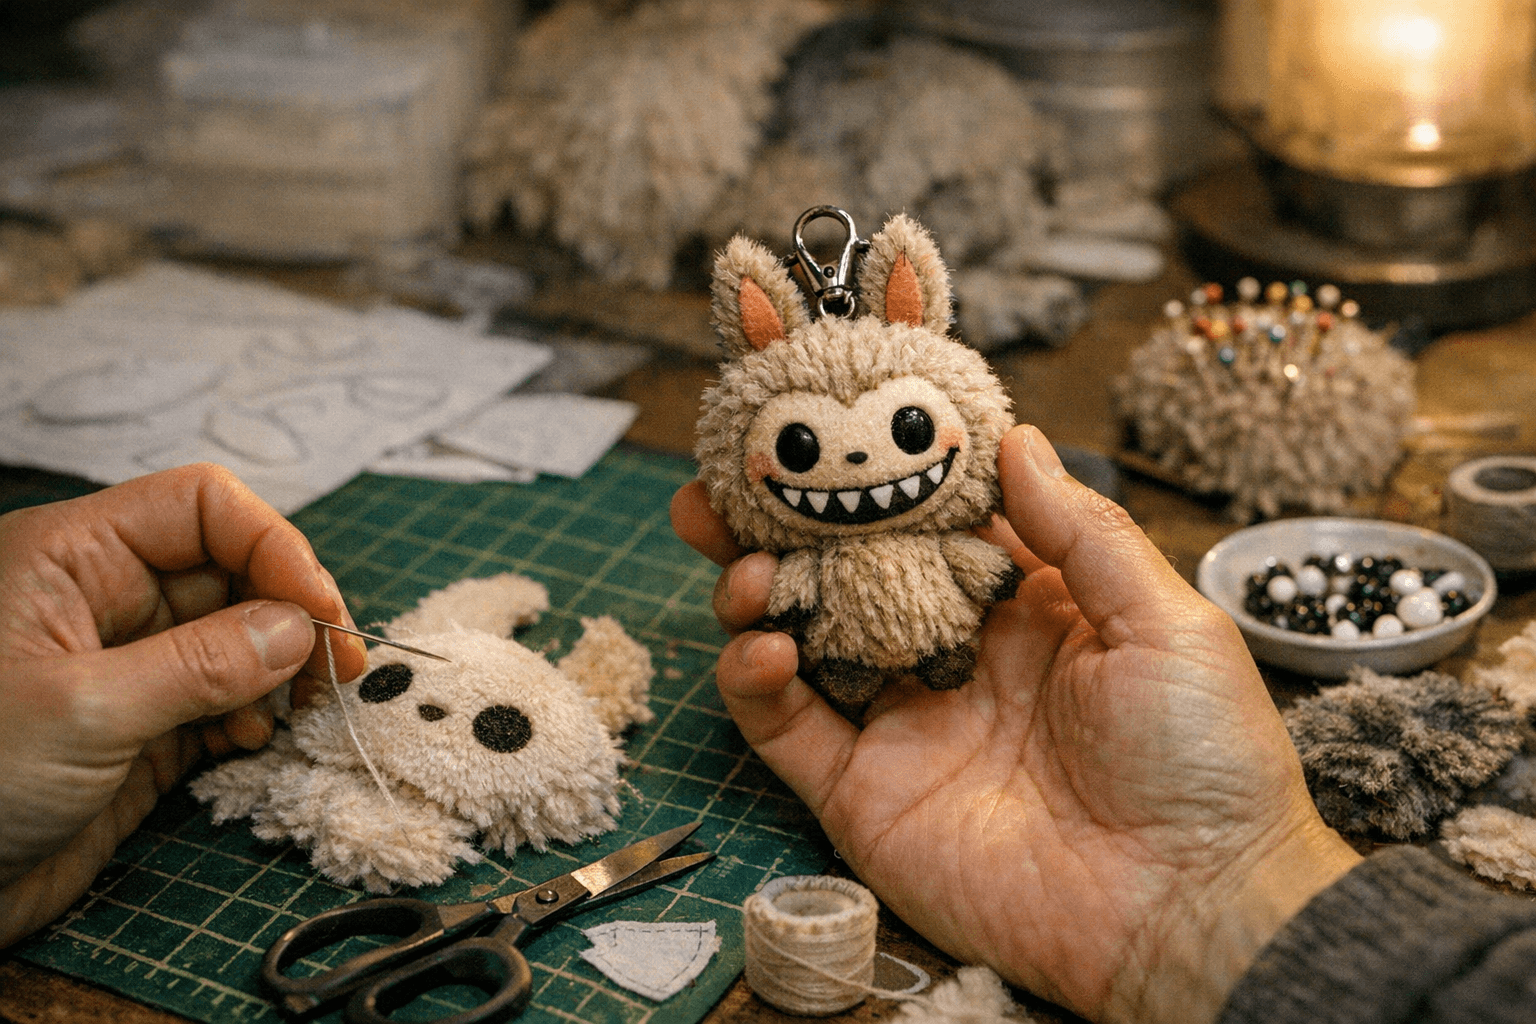
5. Face and teeth placement before assembly Cut small felt triangles for teeth and either stitch or glue them into place on one body piece before you sew the main seam; pre-attaching details keeps stitching tidy.
Embroider a small smile line and eye positions now, too—it's much easier to embroider on flat fabric than on a fully stuffed piece. If you plan a child-safe version, use embroidered or felt eyes instead of plastic safety eyes to avoid choking hazards.
6. Ears: sew, turn, and optionally stuff Sew each pair of ear pieces together with right sides facing, leaving a small gap to turn them right-side out, then press or shape them so they look sharp.
Lightly stuff the ears if you want them to hold structure; a tiny amount of polyester stuffing is enough to give body without adding bulk at the seam. Position the ears so they point up when the body is turned—you’ll sandwich them into the body seam during assembly.
7. Assemble the body with ears sandwiched Place the two body pieces together with right sides facing, and insert the ears between them at the top seam so the bottoms of the ear seams line up with the body seam.
Sew around the body leaving a 3–4 cm gap for turning and stuffing; use a small seam allowance for neat edges. If you want a sturdier top for the clasp, sew a small internal loop of ribbon or strong thread into the top seam while assembling.
8. Turn and stuff carefully Turn the charm right-side out through the gap, gently coaxing rounded edges with a blunt tool or chopstick for a smooth finish.
Stuff firmly but not over-tight—dense stuffing gives shape but will make seams strain and can look lumpy; aim for even fill that keeps the body soft but plump. Smooth the fur and redistribute stuffing with your fingers to avoid lumps.
9. Close the gap and attach the key-ring Use a ladder stitch (invisible stitch) to close the 3–4 cm gap neatly so seams are hidden and secure.
Make and secure a small loop of thread or ribbon at the top seam if you didn’t sew one in earlier, then attach your key-ring clasp through that loop. Double-check the knot and stitching so the clasp won’t pull free during daily use or trading.
10. Finishing touches and personalization Trim excess fur carefully and use a small dab of fabric glue to flatten any stray fibers for a tidy look.
Consider adding a tiny UV-invisible stamp or sewn initials if you plan to trade or sell—this provides discreet maker identification that’s useful in swaps and markets. For a professional touch, press seams lightly and trim stray threads to increase perceived value.
11. Safety note for children’s charms If you’re making charms for children, avoid loose small parts—do not use plastic safety eyes; embroider or use felted eyes instead.
Ensure all seams and attachment loops are double-stitched and securely fastened; small detachable parts can be a hazard. Labeling makes a difference—note age-appropriate use if you sell or gift your charm.
12. Hobby tips and material swaps Practice on scrap fabric to perfect shaping and seam allowance before using your best plush; this saves material and speeds future builds.
Use thinner stuffing to avoid a bulky charm—thin fill layers give better control in a small project. If you prefer a pocket-sized vinyl charm look, swap plush for a thin vinyl or faux leather and adjust sewing methods (use vinyl-specific needles and stronger thread) to get a sleeker, more durable finish.
Wrap-up: With a simple pattern, basic materials, and these step-by-step tips, you can make polished Labubu-style charms that are ready for bags, swaps, and small-scale selling. Keep experimenting with size, color, and personalization to make each charm unmistakably yours.
Know something we missed? Have a correction or additional information?
Submit a Tip

