Ten-Step Checklist For Reducing Stringing And Print Surface Artifacts
This practical checklist lays out ten focused steps to reduce common FDM problems such as stringing, blobbing, and surface artifacts. Follow these calibration methods and slicer adjustments to cut failed prints, save filament, and get cleaner results faster.

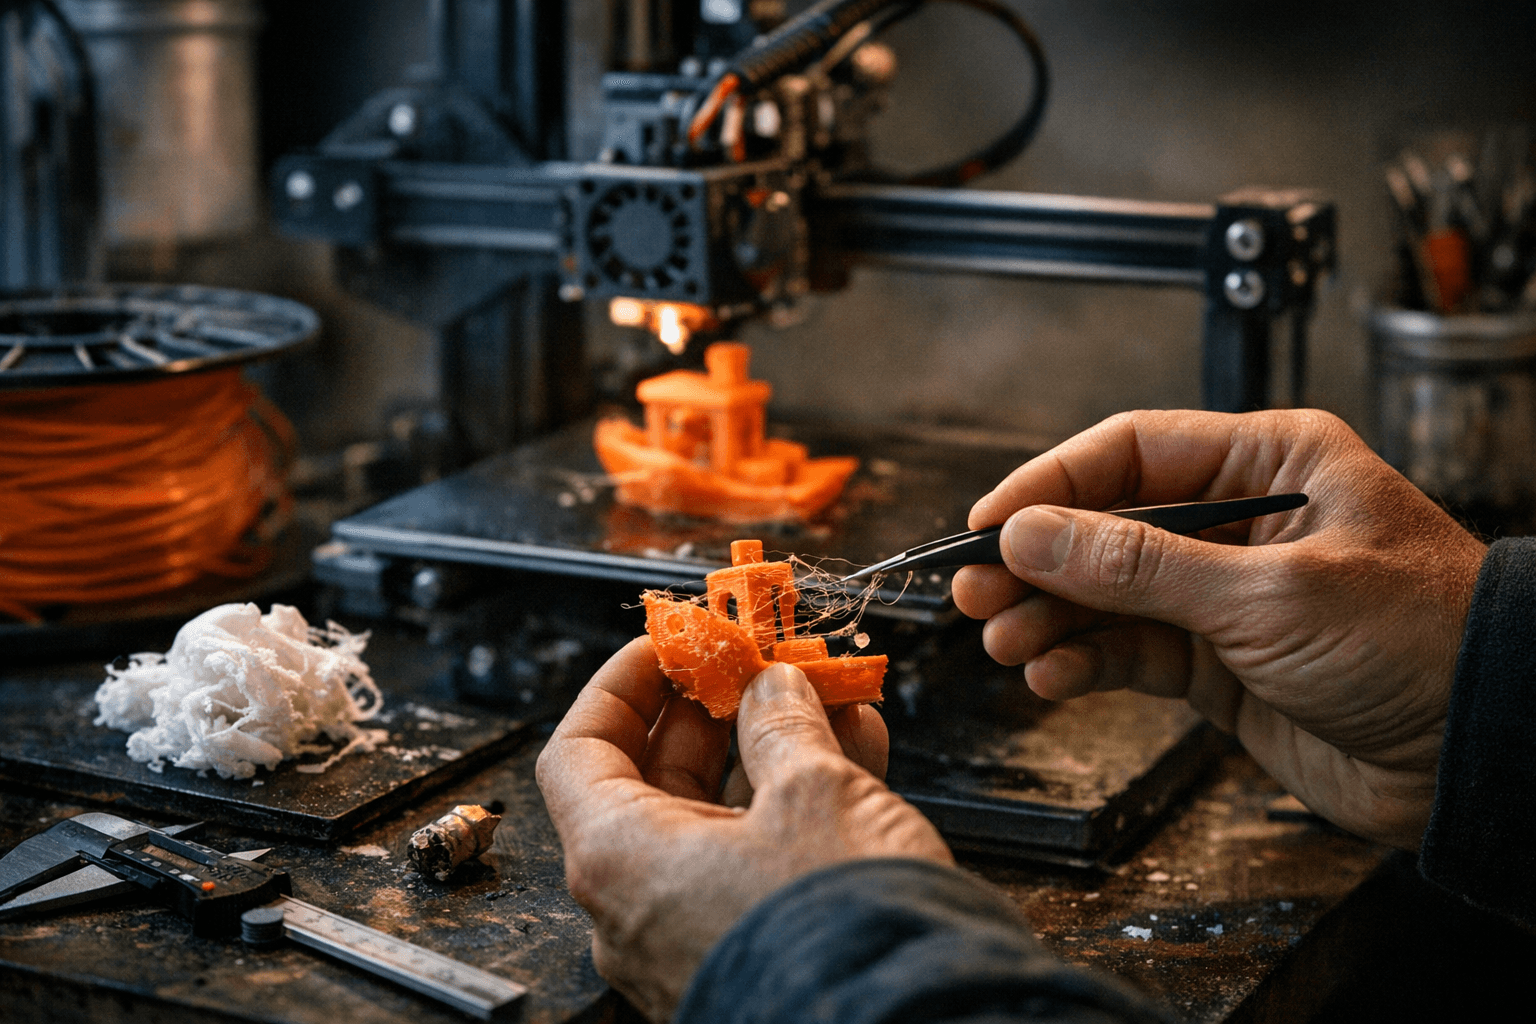
Small changes to slicer settings and deliberate calibration prints are the fastest way to reduce stringing, blobbing, and other surface artifacts that waste time and material. Start by enabling and tuning retraction: turn retraction on, then run short test prints to adjust retraction distance and speed. Remember that Bowden and direct-drive setups require different retraction distances, so treat each extruder type as its own project.
Next, focus on nozzle temperature. Lower the print temperature in small increments to reduce oozing and use a temperature tower to identify the lowest reliable temperature for each filament. Lowering temperature can dramatically reduce thin hairs between features, but balance that against layer adhesion and strength.
Travel moves and movement strategy matter as much as extrusion settings. Enable combing or set your printer to avoid crossing perimeters so the nozzle stays inside already printed areas. Increasing travel speed shortens the time the nozzle is open between extrusions and reduces ooze. Where combing is not sufficient, enable Z-hop to prevent the nozzle from dragging across finished surfaces.
Slicer-specific features like coasting and wipe are also effective at reducing end-of-extrusion oozing. Enable coasting where available to stop extrusion just before a move and use wipe to clean the nozzle on short travel moves. Combine these features with slower print speeds for fine features and targeted retraction tests; faster travel speeds can be used independently to reduce open-nozzle time.
Part cooling and filament condition both influence stringing. Tune fan speeds for each material — too little cooling will ruin overhangs, while too much can increase stringing on some plastics. Dry filaments that show popping, inconsistent extrusion, or extra stringing, and avoid low-quality spools that often contain contaminants or inconsistent diameter.
Start from vetted slicer profiles for your printer and filament combination to avoid reinventing the wheel. Repositories and manufacturer profiles for Prusa, Orca, Bambu, and Creality provide reliable baselines; then tune from there with controlled tests. Run small calibration prints before committing to long jobs: retraction towers, stringing tests, and single-wall cylinders let you check the effects of one change at a time.
Treat each filament and slicer change as a separate experiment. Use controlled calibration tests, document results, and iterate. For step-by-step retraction procedures consult your slicer’s documentation and the Prusa Knowledge Base retraction article. Following this checklist saves filament, reduces frustrated late-night failures, and helps the community share reliable, repeatable settings for common printer and filament combinations.
Sources:
Know something we missed? Have a correction or additional information?
Submit a Tip