How to Build a Custom Mechanical Keyboard From Start to Finish
This practical walkthrough covers the end to end process of building a custom mechanical keyboard, from choosing a layout and case to flashing firmware and troubleshooting. It explains the tools and parts you need, assembly steps for hot swappable and soldered builds, stabilizer tuning, basic lubing and spring swaps, and safety tips to help first time builders save time and money.

Building a custom mechanical keyboard is accessible and rewarding when you follow a clear sequence. Start by choosing a layout and case that match how you type and where you work. Compact layouts reduce cost and complexity, while full size and tenkeyless layouts add keys and require larger cases. Case materials affect sound and weight, with plastic cases offering lower cost and easier mods, and metal or acrylic options changing resonance and durability.
Next choose a PCB and plate type and decide a mounting method. Plain PCBs come in hot swappable or solder only variants. Plates can be aluminum, brass, steel, polycarbonate or FR4, and each alters typing feel. Mounting methods include tray mount, top mount, gasket mount and plate mount. Match the plate and mounting to the case cutouts and to the PCB you select.
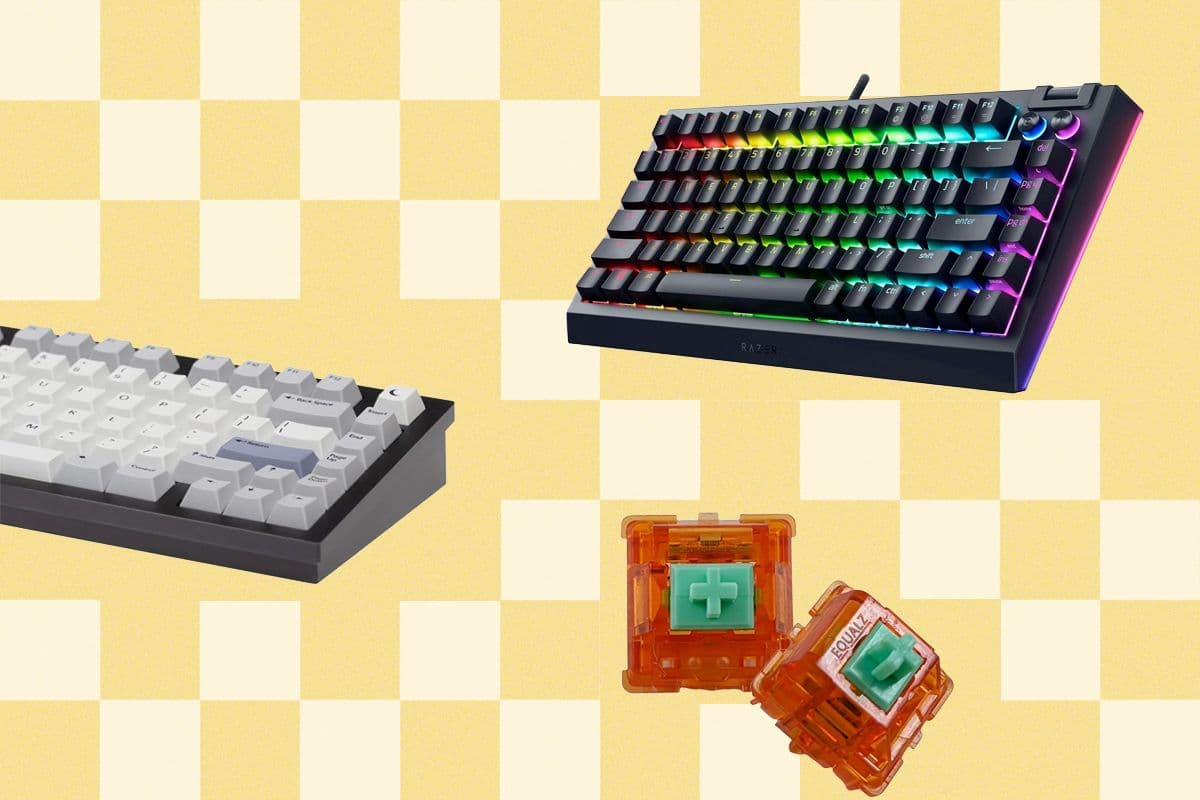
Pick switches and keycaps with profile and material tradeoffs in mind. Switches vary by travel, actuation and spring weight. For a beginner, choose reliable tactile or linear switches with standard cross stem compatibility. Keycap profiles such as OEM, Cherry, SA and DSA change hand position, and materials ABS and PBT trade off texture and longevity.
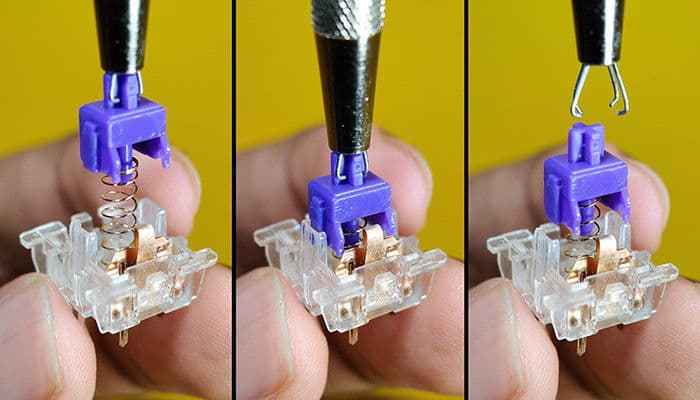
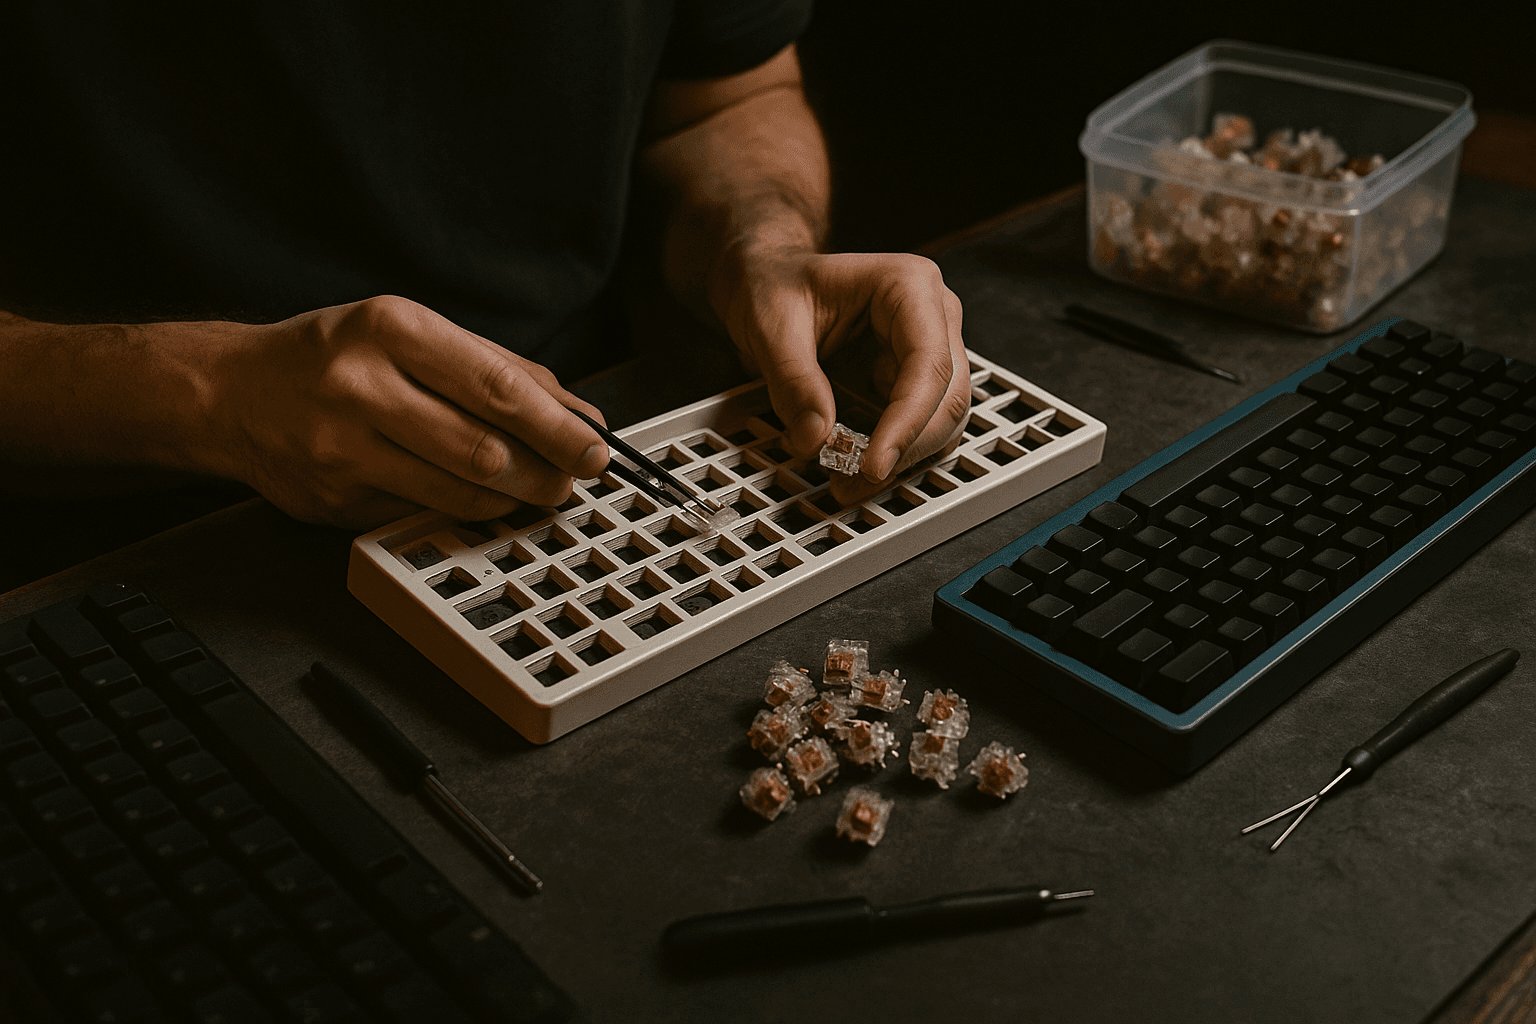
Assemble with the right tools and supplies. Essential items include a soldering iron, flux, switch puller and stabilizer tools. For soldered builds you will need solder and a steady iron. For hot swappable builds you can seat switches without solder, then test key registration before finalizing the case assembly.
Prepare and tune stabilizers to avoid rattling. Clip and lube stabilizer stems and housing points of contact, and test stabilizer travel on space bar and large keys. Basic lubing and spring swaps improve feel, using thicker lubricant on housings and thinner grease on springs, and replacing springs for heavier or lighter actuation when desired.
Program firmware using QMK and VIA to map keys, layers and RGB if supported. Follow flashing steps for your PCB and keep a backup copy of any custom keymap. Test each switch after assembly and check for common mistakes such as misaligned stabilizers, cold solder joints, or unseated switches. Practice soldering on spare components, work in a ventilated space, and use basic ESD precautions. To minimize cost and complexity as a first time builder, start with a compact hot swappable PCB, a simple plastic case, standard cross stem switches and a PBT keycap set.
Sources:
Know something we missed? Have a correction or additional information?
Submit a Tip