Off-Season below-the-waterline checks every DIY boater needs before hauling out
Learn step-by-step inspections for props, shafts, anodes and sterndrives, plus how to check through‑hulls, seacocks, speedo tubes and hydraulics before launch.

Winter haul-out is the ideal time to catch the small faults that turn into big headaches on the launch ramp. Below are practical, sequential checks to run on every boat coming out this season, with what to look for, why it matters, and what to do next.
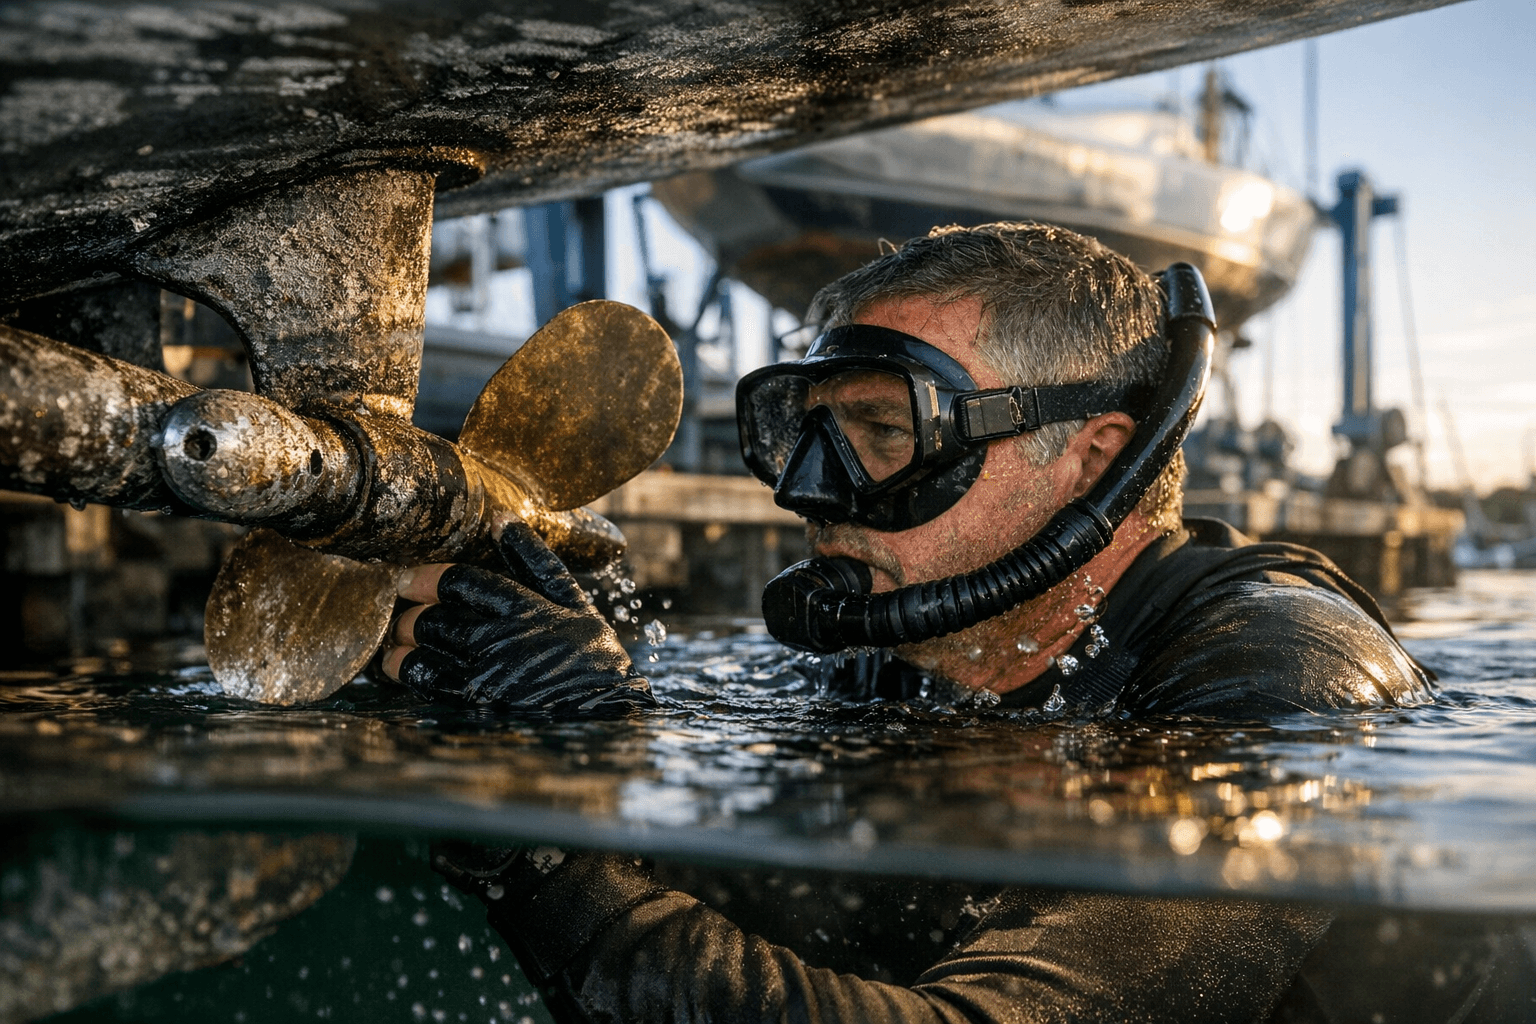
1. Propeller inspection Inspect each prop for dings, bends, cracked blades and whether it spins true on the shaft.
Small nicks can usually be smoothed, but bent blades mean vibration, lower fuel economy and possibly damaged bearings; if the prop doesn’t run true you’ll want to repair or replace it before the season. Photograph the blades from multiple angles so you can compare later and prove progressive damage if blades deteriorate between hauls.
2. Prop shaft, cutlass bearing and skeg Check the prop shaft for straightness and corrosion, feel for play, and look at the cutlass bearing and skeg for rubbing or scoring.
A loose shaft or a worn cutlass bearing will produce vibration and can quickly damage the gearbox; a damaged skeg can affect steering and protection for the prop. If you detect axial or radial play, plan bearing or shaft work now and source replacement parts while haul-out slots and parts are still available.
3. Underwater anodes (zincs) examination Examine all sacrificial anodes for the degree of wear—replace if more than 50% consumed or heavily pitted.
Anodes protect expensive underwater metals from galvanic attack; leaving them past useful life is inviting corrosion on shafts, struts, props and hardware. Keep photos and log replacement dates so the community can share what materials (zinc, aluminum, magnesium) worked best in your local water chemistry.
4. Drain and inspect lower-unit/sterndrive gear oil for water intrusion Remove and check lower-unit or sterndrive gear oil for milky coloration or water droplets—these are telltale signs of a leaking seal.
Gear oil contaminated with water means immediate attention: water corrodes gears and bearings rapidly, and getting drawn-out repairs mid-season is costly. If you find water, don’t top off and ignore—plan a service to replace seals, flush the unit and change the oil before launch.
5. Bedding, wiring and sealant around through‑hulls, transducers and underwater lights Verify that bedding compounds and sealants around through‑hulls, transducers and underwater lights are intact and that wiring entries are dry and secure.
Leaks here can be stealthy and catastrophic; a failing seal can let water into hull cavities or electronics even when wave conditions look calm. Re-bed fittings as needed, replace degraded sealant and tidy wiring with proper marine‑grade connectors and heat shrink.
6. Test speedo tubes Blow through or run a pressure check on speedo (pitot) tubes to ensure they’re clear of marine growth and debris; a blocked tube gives wildly inaccurate speed readings.
Replace corroded fittings and make sure any through-hull run is secure and sealed. Accurate speed data matters not just for navigation but for sail tuning, engine load decisions, and fuel planning.
7. Test seacocks Operate every seacock through a full open-close cycle and inspect for stiffness, corrosion or leaks when under pressure.
Seacocks that bind or leak are a serious safety hazard; replace or service them now rather than waiting until in-water problems arise. Mark their positions clearly so the whole crew can operate them quickly in an emergency.
8. Sterndrive bellows Inspect sterndrive bellows for cracks, UV damage, or softness—any sign of wear means replacement.
Bellows prevent water from entering the engine compartment around the drive unit; failure here is one of the quickest routes to engine flooding. If you’re near the end of a bellow’s expected life, replace it now and stock a spare if you sail long distances.
9. Gimbal bearings Check the gimbal bearing for smooth operation and signs of rust or pitting; feel for play and vibration when rotating the drive.
A seized or rough gimbal bearing transfers shock loads to the driveline and can destroy the u-joints and coupling components. Replace noisy or rough bearings proactively—DIY replacement is often straightforward on many sterndrives if you have the right pullers and a clean bench.
10. U-joints Inspect universal joints (u-joints) for play, rust, or missing grease; they should rotate smoothly without lateral movement.
U-joints that start to fail cause driveline vibration and can lock up, creating immediate propulsion loss. Grease, repack, or replace u-joints as necessary and use photos to document condition before and after service.
11. Trim tabs Check trim tab hinges, actuators and plates for pitting, loose fasteners, and hydraulic or electrical leaks.
Trim tabs affect ride attitude and fuel efficiency; damaged hardware or leaking actuators will reduce performance and can cause noise or asymmetric running. Tighten hardware, remove marine growth, and plan actuator service if tabs don’t move smoothly or hold set.
12. Hydraulics (trim and steering) Bleed and cycle hydraulic systems for trim and steering, inspect lines and fittings for leaks, and look for fluid contamination.
Hydraulics under load must be reliable—steering failure at speed is a serious safety risk. Use correct marine hydraulic fluid, replace any hose with abrasion or cracking, and test operation under load where possible while on the trailer.
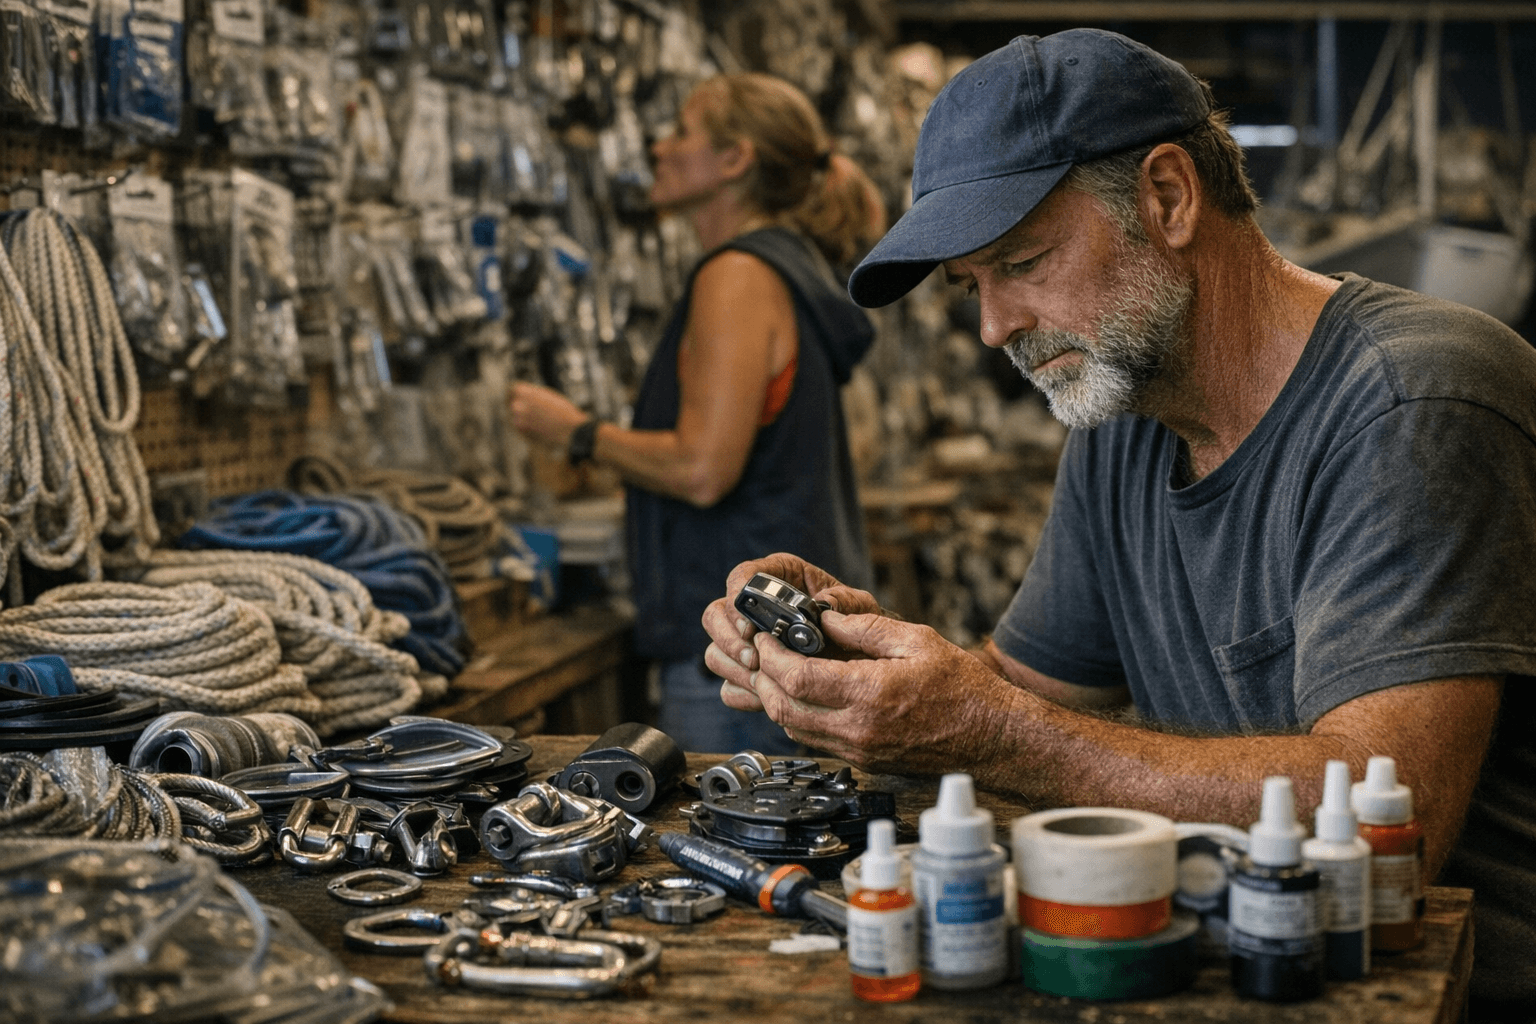
13. Photograph, prioritize repairs and source parts now Photograph every suspect area and build a repair priority list—safety-critical failures first, then performance and cosmetic items.
Sourcing parts in winter avoids the spring scramble for bearings, bellows and specialized hardware; community members often trade part numbers and local supplier tips, so share what you find. Schedule repairs by urgency: anything that can cause water ingress or driveline failure gets top priority before launch.
- Basic tools: torx/metric socket set, prop puller, sealant gun, grease gun, oil drain pan and flashlight.
- Safety: support the boat securely on stands, wear eye protection, and work in a well-ventilated space when using solvents or sealants.
- Community resource: swap notes on parts fits and DIY techniques at the next club workshop; local hands-on knowledge beats a manual when dealing with weird fittings.
Tools, tips and haul-out planning
Our two cents? Treat haul-out as triage: fix anything that can sink or strand you first, then tidy performance items. A few good photos, a prioritized parts list and a weekend of focused work saves headaches and money when the water calls.
Sources:
Know something we missed? Have a correction or additional information?
Submit a Tip