Prusa First-Layer Calibration Guide Simplifies Nozzle-to-Bed Setup for Reliable 3D Prints
Prusa has published a concise First Layer Calibration walkthrough that shows how to set nozzle-to-bed distance and achieve robust first layers, tackling one of the most common causes of failed prints. The practical, step-by-step advice covers the built-in calibration wizard and manual Live Adjust Z, visual diagnostics, sheet-specific offsets, and when to recalibrate, helping makers reduce wasted filament and time.

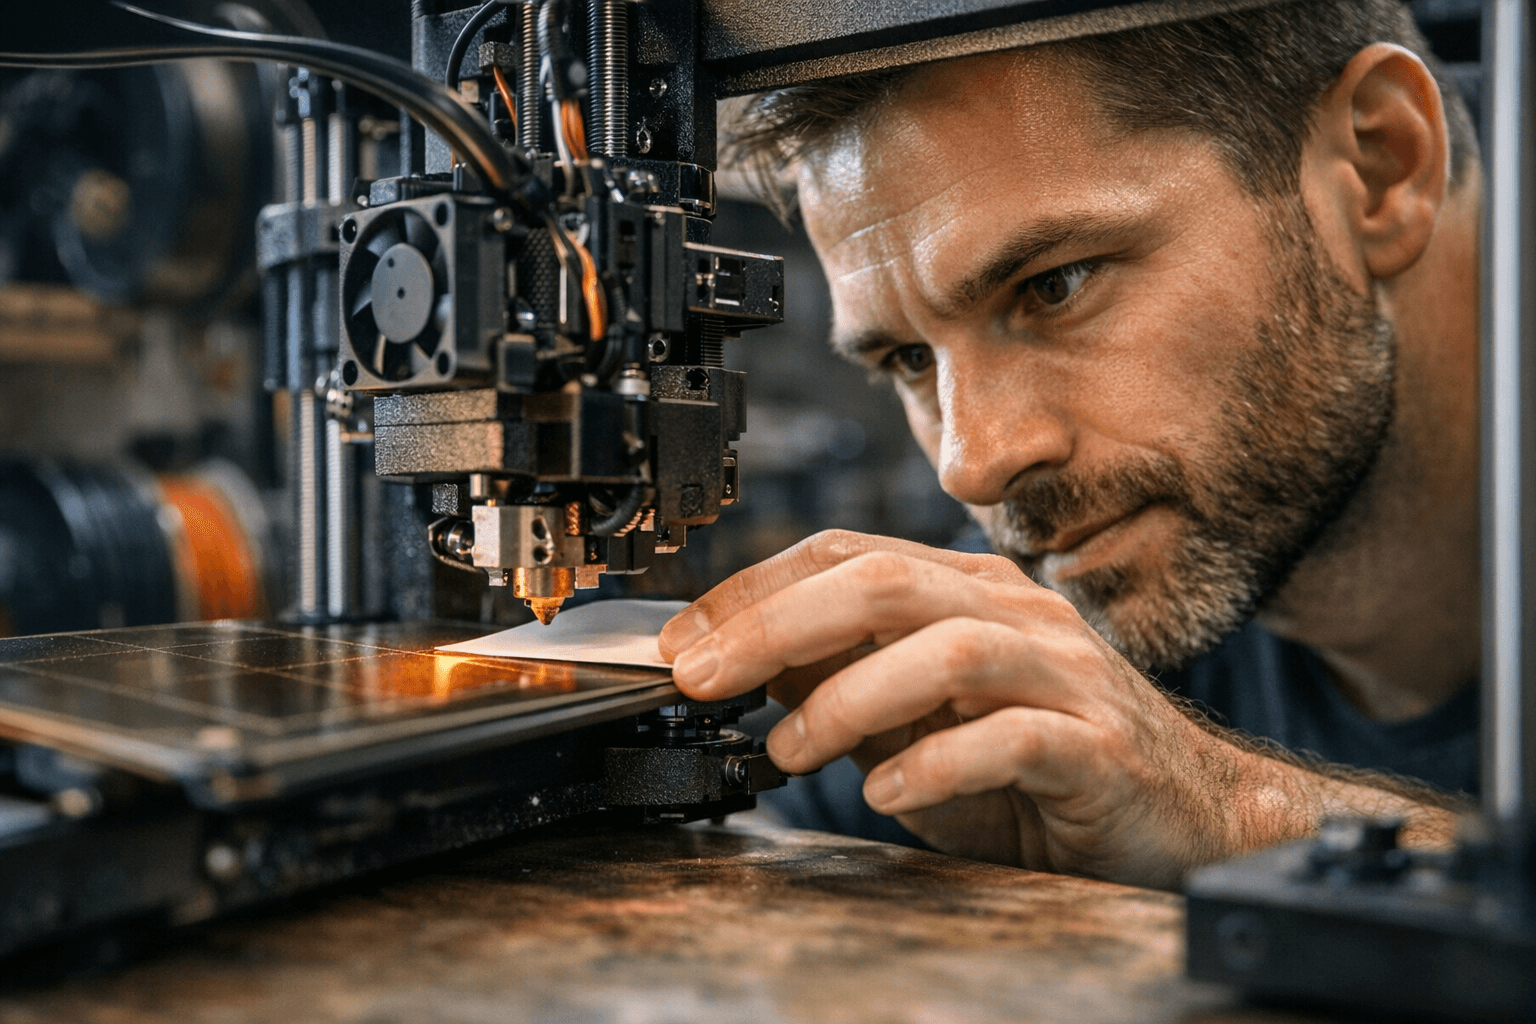
Prusa’s First Layer Calibration guide lays out a compact, practical path to consistent first-layer performance, focusing on the nozzle-to-bed distance that determines whether a print sticks or fails. The guide explains both the automatic calibration wizard and the manual Live Adjust Z control, making the calibration process accessible whether you prefer guided steps or hands-on tuning.
Start by choosing the calibration method that matches your comfort level: run the calibration wizard for an automated sequence or use Live Adjust Z to tweak height in real time during the first layer. Look for the visual cues the guide highlights: a first layer that is too high will struggle to adhere and display thin, separated lines; a layer that is too low will look over-compressed or ridged and may show filament being dragged by the nozzle. Adjust until lines are uniform and slightly flattened without being squashed.
Sheet type affects the correct offset. Smooth sheets typically allow a closer nozzle-to-bed gap to achieve good adhesion; textured sheets require a slightly larger offset because the raised surface changes the perceived nozzle distance. Apply a different offset when you change sheet types rather than assuming one setting fits all.
Recalibrate after any change that affects Z height or bed geometry: swap nozzles, tighten or replace hardware, or move the printer to a new location. These events alter the reference plane and can shift the effective nozzle-to-bed distance enough to ruin prints. Recalibration is quick and avoids long print runs that end in failure.
The guide also summarizes common troubleshooting steps: clean the bed surface before printing, re-run mesh or bed-level corrections to compensate for warps, and inspect or adjust bed sensors where applicable. Per-printer variants are noted, so owners of the i3 family, MINI, and LoadCell-equipped machines get guidance tailored to their hardware and sensor setups.
For community makers focused on improving success rates, this walkthrough offers immediate practical value. Follow the calibration wizard or Live Adjust Z, watch for the described visual signs, set sheet-specific offsets, and recalibrate after hardware changes to reduce wasted filament and printer downtime. The result is fewer failed starts and more reliable prints across a wide range of Prusa machines.
Sources:
Know something we missed? Have a correction or additional information?
Submit a Tip